The Promise of Spring

The season starts with a dream and faith in the smallest seed.

Harbingers

Even after the harshness of winter, life prevails and surprises.

A pop of color.

Longer days and sunny skies bring a pop of color to brighten the early spring.

Wild times.

Even in the heart of the city, wild things abound.

Ephemeral beauty.

Some are visitors just passing through.

Saturday, April 28, 2012

Dive Right In

One of my projects for the past several weeks has been the installation of the garden beds out front, which you can see in one of my earlier posts. In addition to those beds I also constructed to 9' x 14' triangle beds which will anchor the (eventual) back patio. Now that the one walnut tree has been removed, this area gets sun for most of the day, making it an ideal location for housing the herb garden. The site is adjacent to the kitchen door and will be easily accessible when we have the outdoor dining area complete one day.

New herb garden bed. 

Today I finished off the first of the two beds.... It turned into QUITE the ordeal. When I designed the beds I made them twice as tall as the front beds so that there was a more definite visual separation from the lawn since these two triangle beds outline the south side of the future patio and form the book ends for the paths coming down from the future rose garden. Needless to say once they were built I couldn't move them by myself. I also underestimated how much dirt it would take to fill them in. Originally I thought that the bed closest to the house would end up needing to be cut into the slope of the yard pretty significantly, and the plan was that the dirt would then be used to back-fill the majority of the bed. As it turned out, that didn't happen, and I had to actually raise up the far end of the bed just to keep it level and in line with the back slab.


Filling the bed
Well in the process of replacing what little dirt I had actually removed to level the bed I looked up and caught a glimpse of the weeds growing up inside the pool. not looking forward to another summer of spraying and chopping weeds in there I was thinking to myself how I needed to just get in there and clean out the entire mess since I'd have to dig it out one day anyway when I get around to installing my pond. That's when it hit me... I needed DIRT to fill in the herb beds and the pool just happens to be FULL of dirt! Can you say 2 birds... one stone? My only concern was that since the pool is covered in trash and debris I had never really investigated to see what the quality of the fill was. My luck it was filled in with concrete chunks or bricks or something else that would be utterly unsuitable. A few preliminary shovels and things looked promising. 

Getting started. One bucket at a time....


The soil isn't the best, but at least it isn't completely full of rocks. The first few inches are actually pretty decent top soil at this point from all of the years of leaves and weeds rotting in there. The only annoying thing is that I had to carry out the dirt by hand using 5 gallon buckets since I can't get the wheel barrow down in the pool. I managed to get 6 buckets worth of dirt into each wheel barrow load. After literally 50 or more trips back and forth the bed was filled and ready for a top dressing of peat moss and compost. 

After the bed was filled.


I made a dent in the pool, but there's probably PLENTY of dirt left for the second bed and then to level out the rose garden.... 


I tucked in my little herbs, added a bird bath, and installed the post caps. I'll mulch with straw tomorrow to help keep the moisture in the beds, but things are more or less done for this one. My very first truly dedicated herb garden! I couldn't be happier.

One down... one to go.

PS: Did you know you can now sign up to follow my blog via e-mail? Just enter your e-mail in the box at the right and you'll get an e-mail automatically every time I post an update.

Thursday, April 26, 2012

Ornery Critters

After banishing almost all of the groundhogs last year it seems we've moved on to a few other local critters:

Opossum
I actually caught this guy twice in my effort to catch the remaining groundhog. This is a photo from the first time when I actually let him go. (Or tried... he wouldn't leave the cage so I had to prop it open using the rock so I could go to work. I caught him again this past weekend and decided that meant he'd earned a permanent relocation.

Salamander
Found this guy in the big mulch pile when working on the front beds this past weekend. He was very squirmy. I moved him a bit closer to the creek which I thought would be much safer than leaving him in the pile and risk impaling him with my pitchfork during mulching!

Tuesday, April 24, 2012

Veggie Update!

Quick end of April update:

Cabbages, broccoli, cauliflower, and brussel sprouts all tucked in to their bed in the center of the new raised bed garden. They look pretty happy. (The stakes are to hold up the sheets in the event of a late-breaking frost.)

Cole Crop Bed
 In the new wooden grow house, which I'm loving by the way, the tomatoes are getting impatient and looking forward to their permanent home. In fact, this week's projected cold weather meant that I had to do some quick shuffling of shelves inside to make room for them since they are now too big to close the lid! I also had to  up-pot almost all of them from their 4" starter pots to some left over quart size pots since it looks like it will still be a couple of weeks before they can be planted out.


Sunday, April 22, 2012

Vacation Progress

Having spent most of my Spring vacation tucked away in a basement... (don't ask :-) I did manage to get in two glorious days of digging and planting. Mostly I worked on the foundation plantings since we started with a mess that took most of last year to tame. I needed to get in some shrubs that will eventually fill in and give some structure to the beds.

As a reminder... this is what things looked like a year ago when we bought the house:


 Then we got to this early last year after the trees were removed:
.

And after a bit more progress in July of 2011:

And now a few shots from this week's progress:

 LEFT: View from the front walk showing the new veggie garden beds. Went with a rose standard in the center pot for now. The blue pots will be ornamental peppers and nasturtiums once the weather warms a tad!  Hard to see in this photo but I added some bright red azaleas in the main bed right under the planter boxes. They should really pop in ta few years. RIGHT: The front entrance. Sadly only one of the evergreen standards survived the winter/remodel... I replaced them with two holly bushes which will be a bit more forgiving of the lack of sunlight in the winter. Eventually I'll trim them up in a formal cone shape. They need to settle in first. All of the mums and pansies in the pots are still going from last year! I also planted two pieris bushes right behind the planters which are small now but will eventually fill in on either side of the steps.
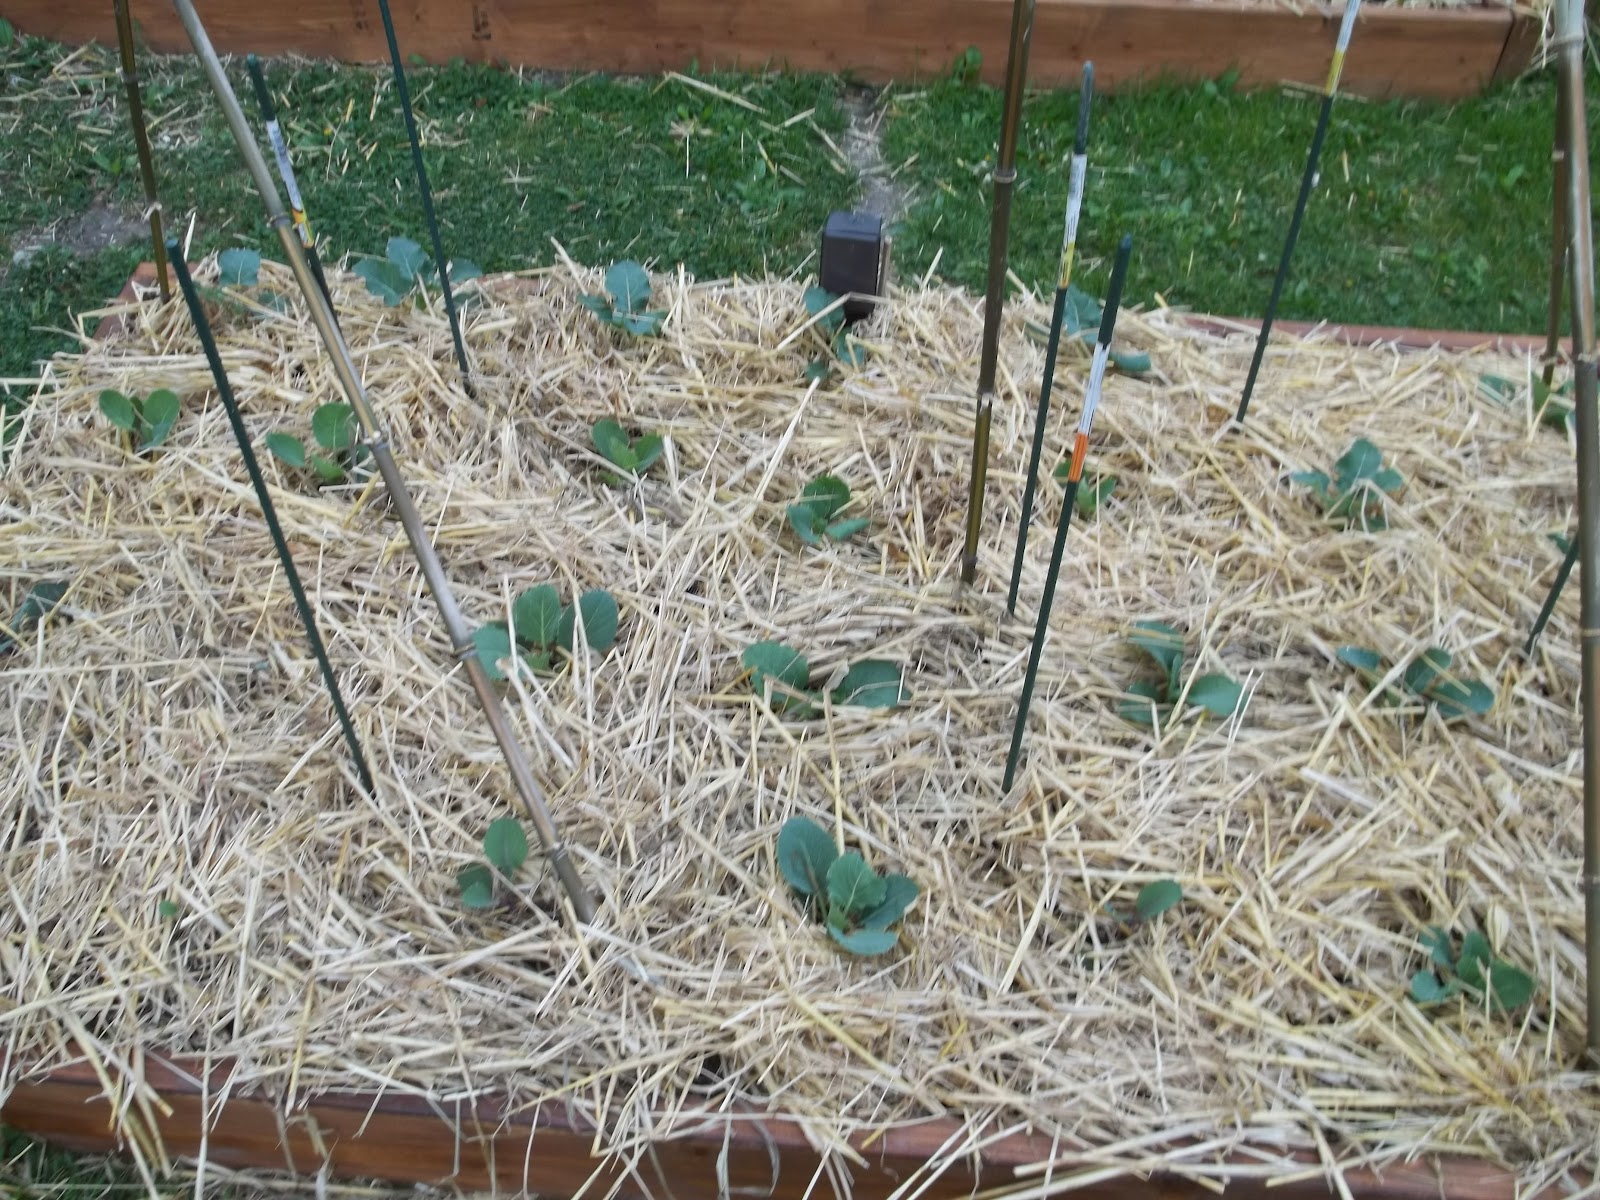
East Side Bed

This bed (ABOVE) is where the little veggie garden was last year. The only repeat here is the very happy hosta. Everything else is newly planted including a butterfly bush and three day lily clumps from my buddy Marc. I also planted in a few Bleeding Hearts which I love. 


 This is the new bed that I made last year with the blocks from Dan and Jo on the west side of the front. It was completely empty past year except for the rose and a false indigo bush (not up yet!). On this side I planted two purple rhododendrons, a pieris, three columbines, three day lily clumps (from Marc), and one of my baby lilacs that I propagated from  root divisions last fall. I also used some of the left overs from this year's tree removal project to make some stepping "stones" into the bed so I can tend to the climbing rose. I think they look pretty nice. 

I also planted a few additional plants in the East side shade garden outside of the library:

This bed is filling up delightfully! I added three foam flowers, and three hellebore plants (aka Lenten rose). I have some coral bells still growing in the basement and will get those out there too in the next month or two! 

I also replanted the planters on the pedestals since I use annuals there:


NOT pictured but also accomplished.... I finished the trench to bring the water line and future power line from the veggie beds to the house. Hopefully I'll finish the water connections this week so the watering will be a bit easier (especially now that I can't drag the hose through the empty east side bed... I also planted two tree peonies and 4 mungo pines to spruce up the area right inside the front gate. What you might be able to see is I also took the time to label nearly everything in the foundation beds so that I know what/where they are and of course so that visitors know too! I've used 100+ labels just in the foundation beds!!!